Caulk is the cheapest waterproofing in the house and the most neglected. Along the tub rim and around the shower base, that soft bead is the only thing between daily water and the wall board behind the tile. When it peels, cracks, or stays black after scrubbing, water is already getting past it. The good news: resealing is a one-tube job. The catch: the quality is decided before the tube opens.
Tools and materials
- Utility knife and a caulk removal tool or single-edge razor scraper
- 100 percent silicone, kitchen and bath formula, one tube plus a caulk gun
- Rubbing alcohol (isopropyl) or the solvent the tube specifies, and lint-free rags
- Painter's tape
- Foam backer rod if the joint is deep
- Spray bottle with water and a drop of dish soap
Budget: CAD $20 to $35, most of it the tube and gun, both of which keep.
Step 1: remove every trace of the old bead
Slice along both edges of the old bead with the knife, then pull the strip out in the longest pieces you can. What remains, the grey film clinging to tile and tub, is the part that decides success. Scrape it with the razor at a low angle until a wet fingertip squeaks on bare surface. Wipe with alcohol and a rag; the rag should come away clean. Any old silicone left behind is a spot where the new bead will let go first.
While the joint is open, look at what is behind it. Soft, swollen wall board or crumbling grout means water has been getting in for a while; let it dry for a day or two before resealing, and see the limits note at the end.
Step 2: dry, mask, and back the joint
The joint must be bone dry. Run the fan, wait, or warm it gently with a hair dryer. Silicone will not stick to a damp joint, full stop.
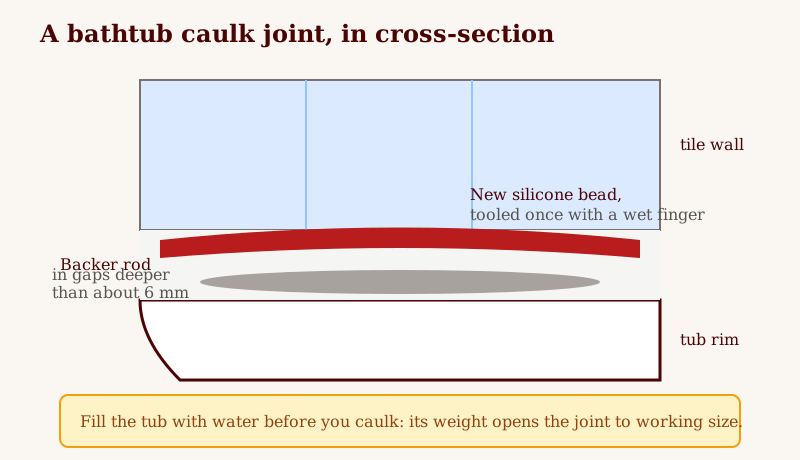
- Push backer rod into any gap deeper than about 6 mm, seated just below the surface.
- Run painter's tape along both edges of the joint, leaving a channel about 6 to 8 mm wide. This is the beginner's cheat code: the tape, not your hand, makes the straight lines.
- Fill the tub with water if you are sealing a tub rim. Its working weight opens the joint to real-world size.
Advertisement
Step 3: one bead, tooled once
Cut the tube nozzle at a 45-degree angle, opening slightly smaller than your taped channel. Load the gun, and lay one continuous bead in a single steady pass, moving at the speed the silicone comes out, keeping the nozzle buried in the bead. Stops and restarts leave lumps.
Immediately, before it skins, tool it once: a wet finger (the soapy water) or a caulk tool drawn along the joint in one motion, pressing the bead into the joint and wiping the excess onto a rag. Once. Repeated passes drag and wrinkle it. Peel the tape right away, while the bead is fresh, pulling at a low angle away from the joint. Then leave it alone for the full cure time on the tube, 24 hours for most.
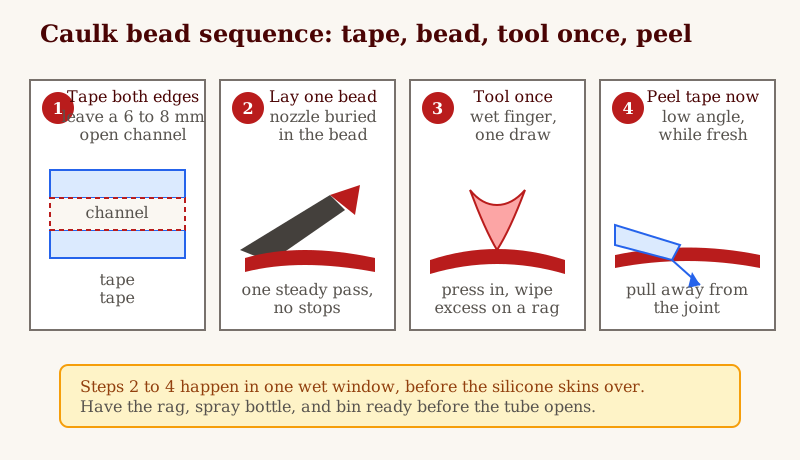
Feel matters more than speed here. Squeeze the trigger to a steady ribbon, not a pulse, and walk the gun at the speed the bead fills the channel. The nozzle tip should ride in the fresh silicone, half buried, so the bead is pushed into the joint instead of laid on top of it. Your tooling finger should feel light drag, like spreading soft butter: gritty drag means the surface is dirty, sticky drag that pulls strings means you waited too long and it has started to skin. A good bead looks slightly concave, glossy, and even, with no folds at the edges. If a short section goes wrong, leave it: you will do more damage digging at wet silicone than a small touch-up costs you after curing.
When a new bead fails early
Bead splits down the middle. The joint opened wider than the bead could stretch. An empty tub that later fills, a deep gap bonded on three sides, or water hitting the bead before cure all end the same way. Cut the split section out fully, check for backer rod in deep spots, refill the tub, and re-bead. A thin smear over a split seals nothing.
Bead peels off in a strip. Adhesion failed. Either a film of old silicone stayed on one face, the joint was damp, or soap residue sat in the corner. The bead peels cleanly and the surface underneath looks polished. Removal is easy this time because it never bonded: take it all out, scrape and wipe until a wet fingertip squeaks, dry the joint properly, and start again.
Black spots return in weeks. The mould is feeding on soap film trapped under or on the bead, or the wall behind stays wet. Surface mould wipes off; mould dotted through the bead body means moisture behind it. Strip the bead, let the open joint dry for a day or two with the fan running, clean with alcohol, and re-bead smooth. A rough, over-tooled bead holds water in tiny ridges and feeds the next round, so one smooth pass is also the mould defence.
Bead looks wavy or lumpy. You stopped and restarted, or tooled it twice. Cut out the worst 10 cm, feather fresh silicone into the cured ends at a shallow angle, and tool that section once. Short repairs done in the same wet window blend in; repairs over half-cured silicone show a visible seam.
Mistakes that bring people back in six months
- Caulking over old caulk. Covered above. It fails every time, just slowly enough to feel unfair.
- A dirty or damp joint. Prep is 80 percent of this job.
- Three-sided adhesion. Bead glued to the back of a deep gap as well as both faces. It cannot stretch and tears. Backer rod exists precisely to prevent this.
- Showering too early. Skin is not cure.
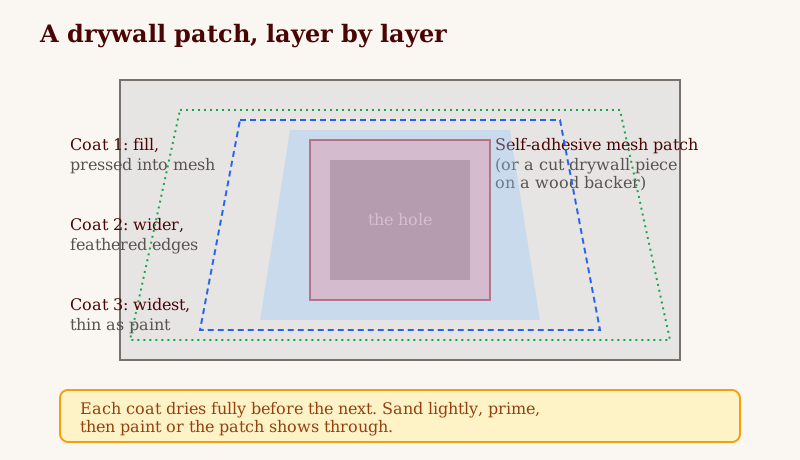
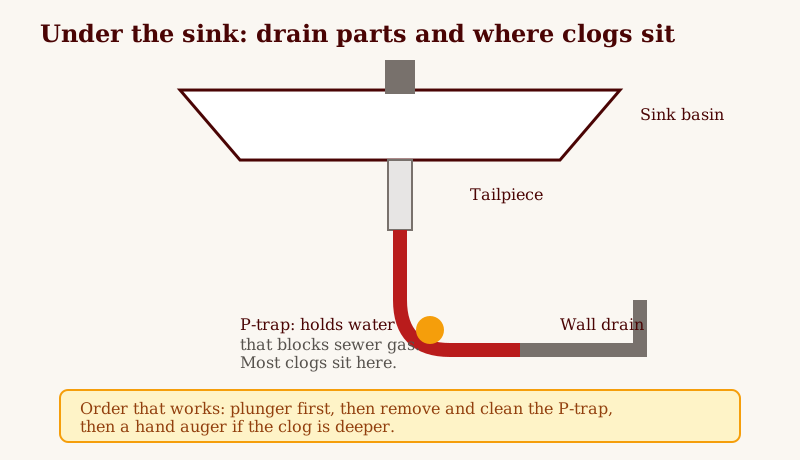
If the wall behind is already water-damaged, resealing is a bandage: the drywall repair in patching a drywall hole is the proper fix, and a soft, bulging wall section is a contractor conversation. For the rest of the bathroom, the companion jobs are clearing the drain mechanically and stopping the dripping tap at the faucet cartridge. Together they are the whole bathroom maintenance Saturday, for about the price of one plumber's first hour.